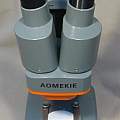
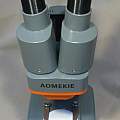
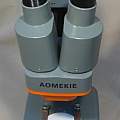
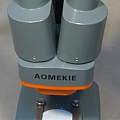
Aomekie
Started 9th February 2018
Three simple 3D printed modifications:
- Adding a brighter LED
- A washer to adjust the focus independently in one eyepiece
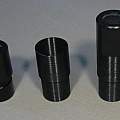
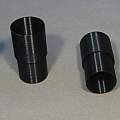
- Eyepiece extension tubes
Adding a brighter LED
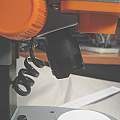
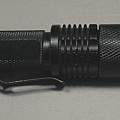
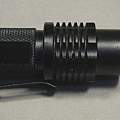
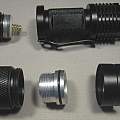
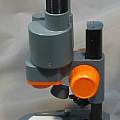
Adding the LED from a Cree Q5 (aka SK68) torch seemed a good idea. It turns out to be a bit bright (copying this design is at your own risk), but many of these torches have three modes (dim, bright and flash) and the dim setting is usually enough. The torch can be disassembled by unscrewing (see the photos). The front bit consisting of focusing lens, LED and power converter electronics is removed and screwed into a 3D printed part which in turn screws into the bracket which held the old LED. The microscope takes two AA batteries and using NiMh for these produces a low enough voltage for the torch boost converter to survive (the worry is if it is trying to generate 3 V what happens when the input is more than 3 V - some of these torches are designed to work with Lithium cells with potentials around 3.7 V).
Downloads:
Focus adjustment washer
If your eyes are not identical devices like binoculars often offer a way of adjusting the magnification of one eyepiece, so called "dioptre adjustment". This little microscope does not have such a feature, but it is easily replicated by printing a washer that can go under one eyepiece. This one worked for me, but you may need a different thickness.
Downloads:
Eyepiece extension tubes
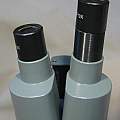
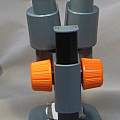
I made a big mistake with this microscope in not working out that the eyepieces are adjustable - they were stiff and moved in a way I did not expect. Eventually someone pointed out to me the eyepieces rotate in the horizontal plane and this allows the distance between eyepieces to be changed.
Before I found out how to use the microscope properly I fixed the problem of the interpupilary distance being too small by 3D printing some extension tubes - the eyepieces slot into the tubes and the tubes slot into the microscope (download below). This does slightly increase the magnification and decrease the focus distance.
The tubes have the marginal advantage of increasing the height of the microscope eyepieces.
At x20 magnification with tubes the field of view is a 6 mm diameter circle, without tubes it is 8 mm at a working distance of 70 mm.
I've found the microscope to be useful for the rare times I solder very small components.
And oh yeah, there were no instructions (I don't read instructions).
David Pilling's Wiki
Set view
